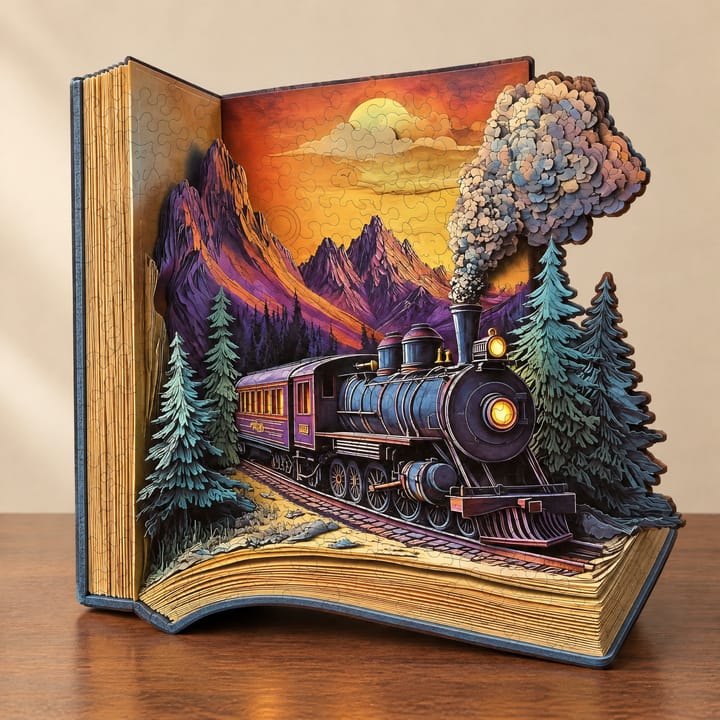
The Open Road Car Kit
$35.95
Flat wood pieces shape by hand into a 3D scale car model for a desk or shelf. Some steps press together and others use a dab of your own glue, with no light or batteries needed.
Expected delivery Tue, Nov 3 to Mon, Nov 9
- Free shipping over $49
- 30-day returns
Shipping and returns
Free shipping over $49. Arrives in 6-11 days. Shipping times and costs per country
Not what you were looking for? Return it within 30 days of delivery. How returns work
Specifications
- Materials
- Wood
- Assembly
- Glue needed for some parts
- Age
- 14+
- Light
- No light
What it is
This kit is a 3D puzzle made of wood. You shape flat wood pieces into a scale car model by hand. Some steps press together on their own. Other steps need glue to hold, so keep a small bottle nearby before you start.
This is a build for adults and older teens, ages 14 and up. It has no light, so it works as a daytime project or an evening one at the kitchen table. The finished model is a display piece, not a toy to roll around the floor.
What you get
- Wood parts for one car model
- A build that mixes press-fit steps with glued steps
- No light and no batteries
- One version, so there is nothing to choose at checkout
Size and build time
This kit comes in a single version. The listing does not give a finished size or a piece count, so plan your shelf space after the build rather than before it. The model is a scale car, which means it reads as a small display piece rather than a large one.
| Option | What it means |
|---|---|
| Single version | One kit, one car design, no size choices |
Set aside a few evenings. Wooden builds go faster when you sort the parts first and keep the instructions open. A flat, well-lit table helps more than any tool.
How to build it
- Open the kit and lay the wood sheets flat. Check them against the parts list before you snap anything out.
- Sort parts by shape or by step. A small dish or tray keeps things from sliding off the table.
- Work in the order the instructions give. Press-fit joints can be tight, so ease them in rather than forcing them.
- Glue the steps that call for it. A thin line of glue beats a heavy one, and a damp cloth wipes away any squeeze-out before it dries.
- Let glued joints set before you move on to the next section. Rushing this step is how a frame goes crooked.
- Sand any rough edges once the model is together. A light touch is enough.
Where it fits
A finished car model earns a spot on a desk, a bookshelf or a windowsill. It pairs well with other wooden builds on the same shelf, and it sits nicely beside a stack of books. If you keep a reading corner, this is the kind of piece that gives the eye something to rest on between chapters.
It also works as a gift. The build itself is the gift, so the person who receives it gets an evening or two of quiet work and a model at the end. For a reader who likes hands-on projects, that is a good match.
Care and handling
Wood moves with the air in your home, so keep the model out of direct sun and away from radiators and vents. Dust it with a dry cloth or a soft brush. Skip wet cloths and cleaning sprays, since moisture can lift the wood grain and loosen glued joints.
If a joint works loose over time, a small dot of glue and a few minutes of pressure will set it right. Handle the model by its base when you move it. Thin parts, such as mirrors or small trim, are the ones most likely to catch on a sleeve.
Store the kit in a dry place if you plan to build later. Keep it away from damp basements and hot attics, and keep the wood sheets flat so they do not warp before you start.
Questions
Does this kit need glue?
Yes, some parts need glue. Other steps press together on their own. Have a small bottle of craft glue on hand before you begin.
Who is this wooden puzzle for?
It is made for ages 14 and up. Adults who like hands-on projects and older teens both fit the build.
Does the finished car light up?
No. This kit has no light and no batteries. The finished model is a plain wooden display piece.
How long does the build take?
Plan on a few evenings. Sorting the parts first and gluing in the order the instructions give will keep the build moving.
You might also like